I recently had some inquiries about how I made my felt cup coozie which you can see in the post HERE, so I decided to make a picture tutorial. Like I said, I used a regular Starbucks cup thingie (goodness, not sure of the name?). It measures approximately 10 1/2" X 2 3/4" and as you can see, there is a slight curve to it so it fits onto cups nice and snug. I used the Sour Apple Felt I purchased from MFT. It's a wool/rayon blend and when I say it's high quality, I mean, it's high quality! AND they have 18 beautiful colors of it! Serious *swoon*! Trust me, I've tried to use the cheap stuff you can get from the bigger stores and it falls apart and you can't use it with any types of dies. Period. Don't waste your money. ;) {and ignore those Royal leaves I cut out of the coozie, please! I hate to waste perfectly good corrugated paper!}
Once you've cut out the template, you want to have at least an inch overlapping. I just folded up the paper coozie to see how much of an overlap it normally has and eyeballed it from there.
Then I folded up my well-loved paper piercing pad and pierced 4 little holes as a guide for my needle. Stay away from the very edge. {ignore my non-manicured nails, please! ;) }
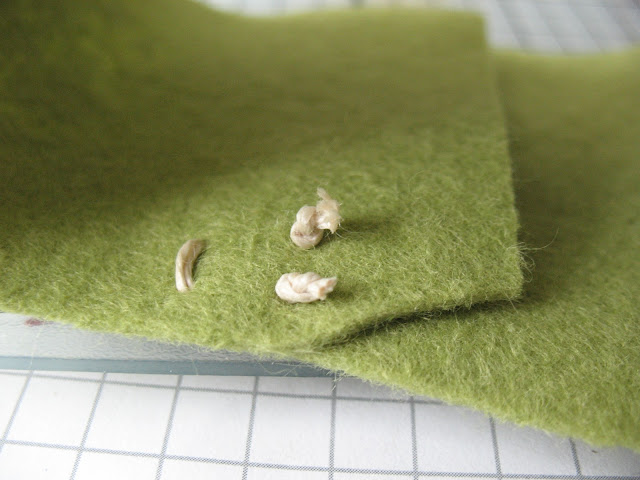
Once you've sewn your "X", loop the needle around the thread to make your final knot. The thread I used is a linen/hemp type that I got from Michael's but you can find it just about anywhere.
Pull the loop down and tighten it as close to the felt as possible, as you see here.
Then just cut off the excess thread. Here's what the inside will look like... And don't worry, it lays nice and flat once it's on your cup.
One down, two more to go! I originally only sewed two "X's", one at the top and one at the bottom, but once I slid it onto the cup, the middle kind of poked out, so a third "X" in the middle took care of that. Plus, it just made it more sturdy.
And another peek at the finished result! Now you're free to embellish it as you wish!
And here's a close up of the finished coozie!
Thanks for stopping by!


4 comments:
Very cute! Love the felt rose embellishment!
forHi !
My name is Eric and I work at CafePress—the world’s premier customization engine that allows its users to create and design unique custom products. We found your blog online and we love your site! We are looking for bloggers such as yourself and I wanted to see if you’d be interested in having us sponsor a free product for yourself or your viewers.
Would you be interested in reviewing one of our custom or personalized products? If not, we have a ton of different products ranging from clothing for adults and children, home accessories, decor, drinkware, to sports memorobillia, stationary and bedding. I’m sure with the wide amount of products we have, there will be surely be something that you could incorporate to your blog to further engage your site's audience.
If you are interested, please let me know! You can take a look at our products on www.cafepress.com to see if there are any products or samples that you are interested in. We look forward to working with you to review and share our products with your readers.
Looking forward to your response,
Eric Kao
Community Outreach
ekao@cafepress.com
CafePress Inc.
The World's Customization Engine
CafePress Facebook
www.cafepressinc.com
So cute Angel. Congratulations on your DT position with Sister Act Card Challenge. I am happy for your new position. I am looking forward to your creations each week. I am your newest follower and would love for you to follow my blog also. Happy creating!! Have a wonderful week!! Hugs, Gloria
http://purpleglocreations.blogspot.com
So cool!
Post a Comment